
If you're new to cryptocurrency and looking to secure your digital assets, a hardware wallet like Trezor is an excellent choice. The official setup guide, available at trezor.io/start, provides a comprehensive walkthrough to get you started.
Before diving into the setup process, ensure you have the following:
A Trezor Device: Choose from models like Trezor Safe 3, Safe 5, Model One, or Model T.
A Computer: With internet access and a USB port.
A USB Cable: To connect your Trezor device to your computer.
A Recovery Seed Card: Provided with your device for backup purposes.
Begin by downloading the Trezor Suite app from the official website. This application is available for both desktop and web platforms. For optimal performance, it's recommended to install the desktop version. Once installed, open the app to begin the setup process.
Plug your Trezor device into your computer using the provided USB cable. The device will prompt you to visit trezor.io/start on your browser. Follow the on-screen instructions to proceed.
If your device is new or requires an update, the Trezor Suite will prompt you to install the latest firmware. This ensures your device operates with the most recent features and security patches. Simply click on "Install firmware" and wait for the process to complete.
If this is your first time setting up the device, select "Create new wallet." You'll be guided through the process of generating a new wallet. If you're restoring an existing wallet, choose "Recover wallet" and enter your recovery seed when prompted.
During the setup, you'll be asked to create a backup of your wallet. This involves writing down a series of words (recovery seed) on the provided card. This backup is crucial for restoring access to your wallet if your device is lost or damaged.
To protect your device from unauthorized access, you'll be prompted to set a PIN. Choose a secure PIN that you'll remember. This step adds an extra layer of security to your wallet.
Once the setup is complete, you can access your wallet through the Trezor Suite app. Here, you can manage your cryptocurrencies, check balances, and perform transactions securely.
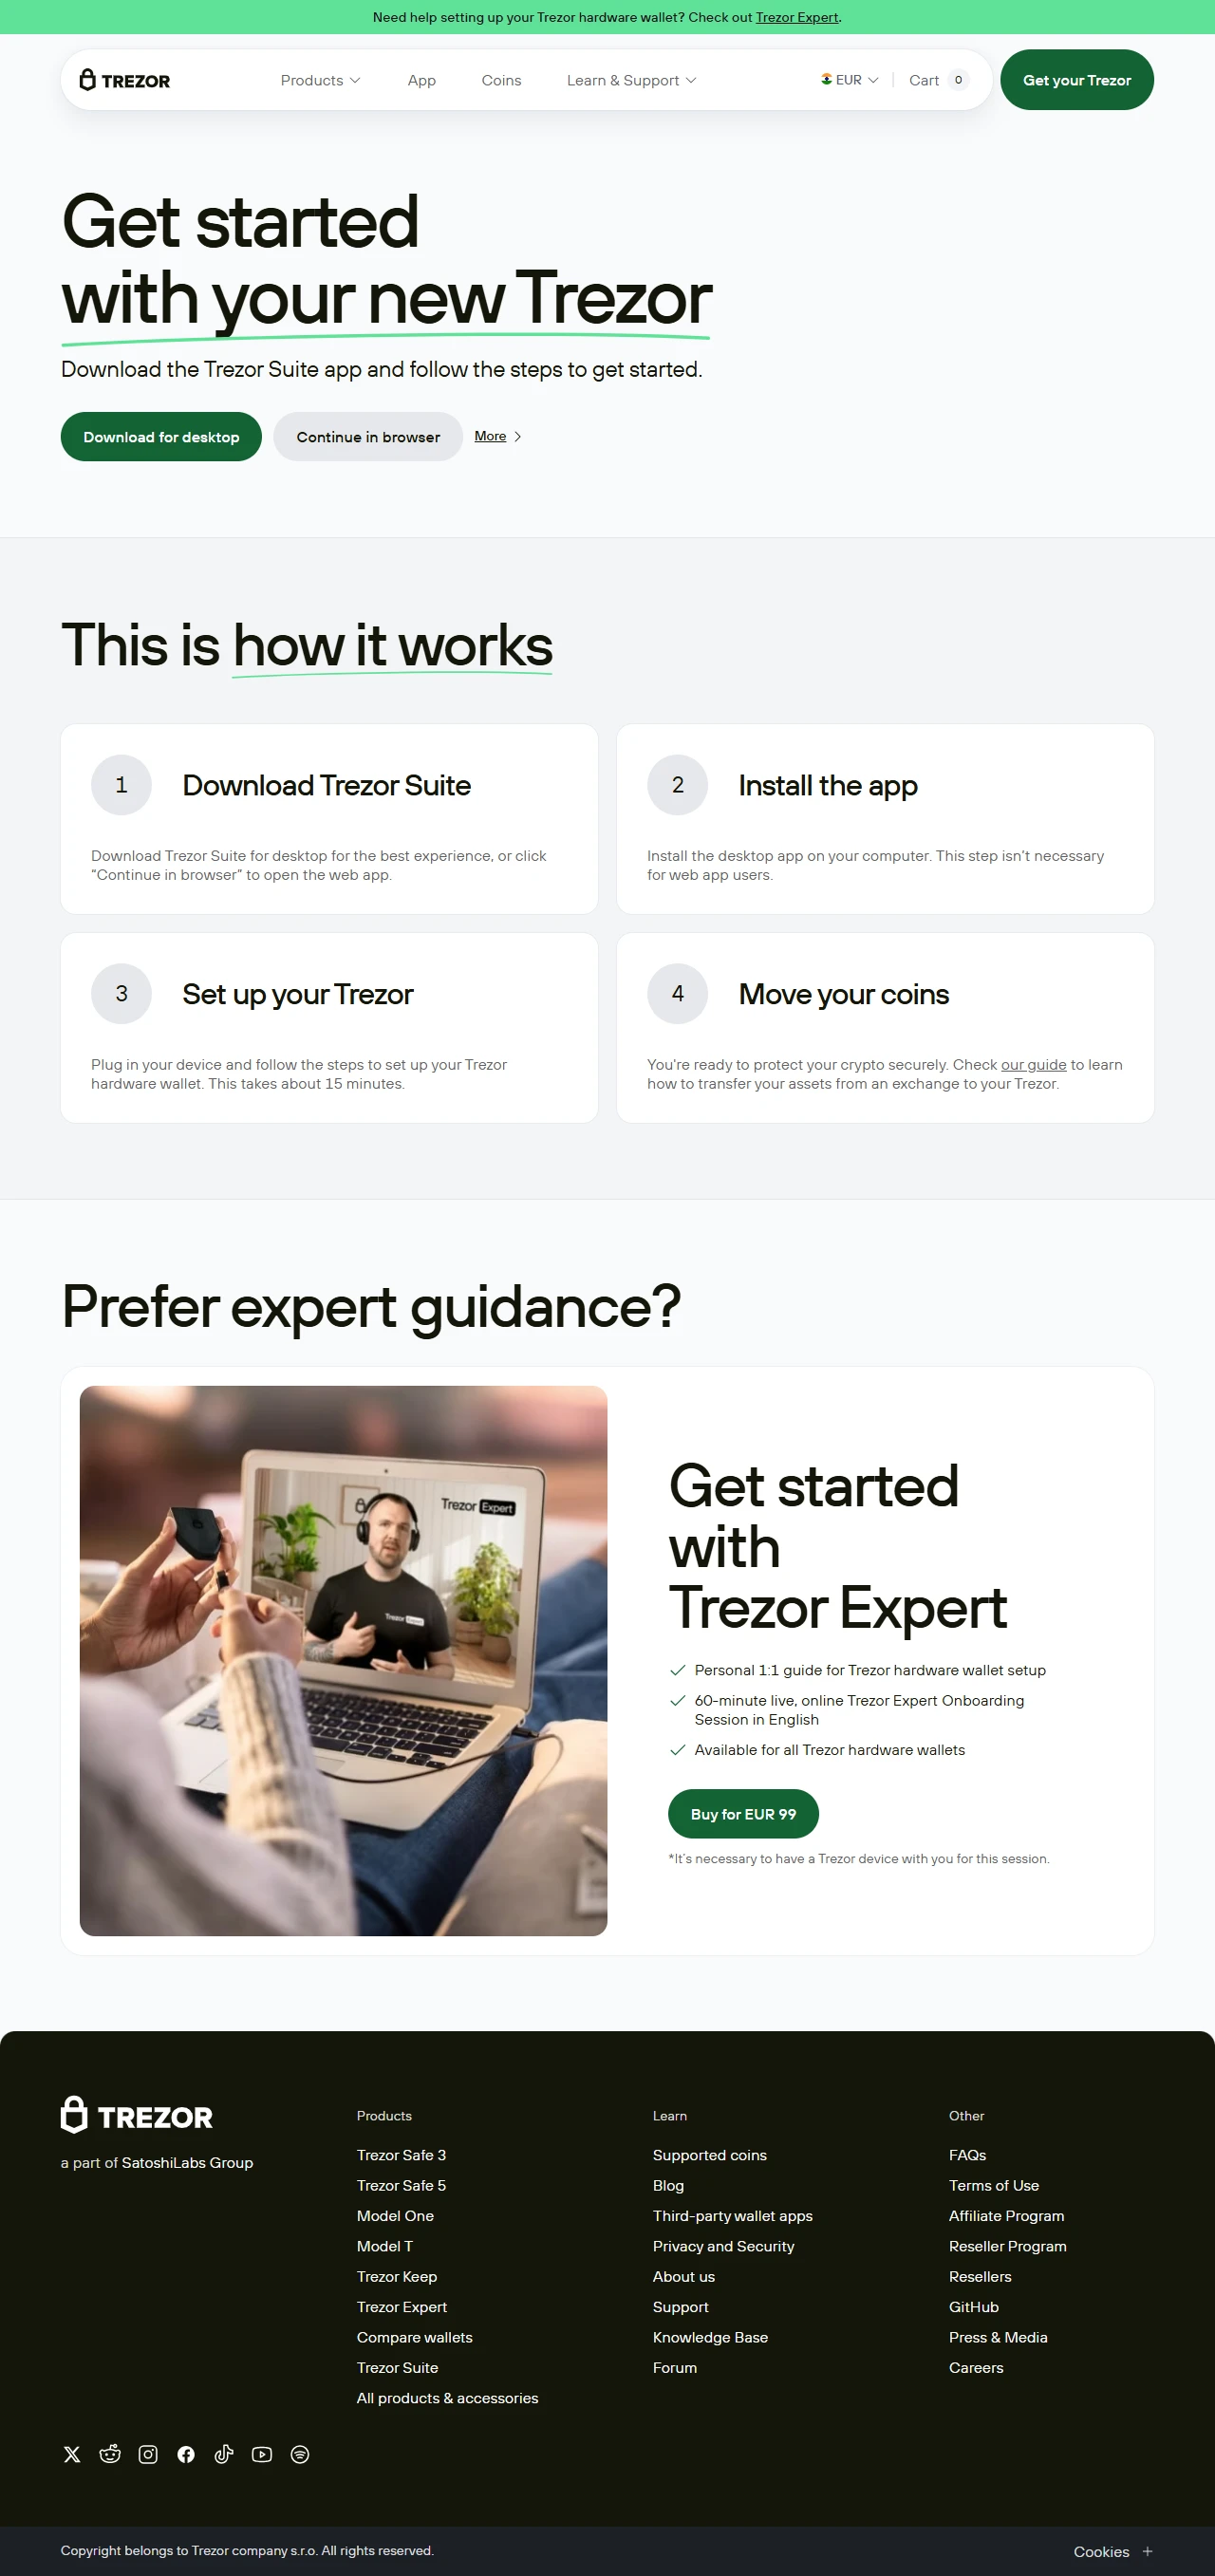
If you're new to cryptocurrency or prefer guided assistance, Trezor offers a 60-minute one-on-one onboarding session with a Trezor Expert. This session provides personalized help in setting up your device and understanding the basics of self-custody. It's available for all Trezor hardware wallets.
After setting up your Trezor wallet, it's time to transfer your assets from exchanges or other wallets. The Trezor Suite app provides a straightforward guide to help you move your coins securely. Ensure you double-check wallet addresses to avoid any errors during the transfer process.
Setting up your Trezor hardware wallet is a crucial step in securing your cryptocurrency assets. By following the steps outlined above, you can ensure that your digital wealth is protected against potential threats. Remember to keep your recovery seed safe and never share it with anyone. With your Trezor device and the Trezor Suite app, you're well-equipped to manage your cryptocurrencies securely.